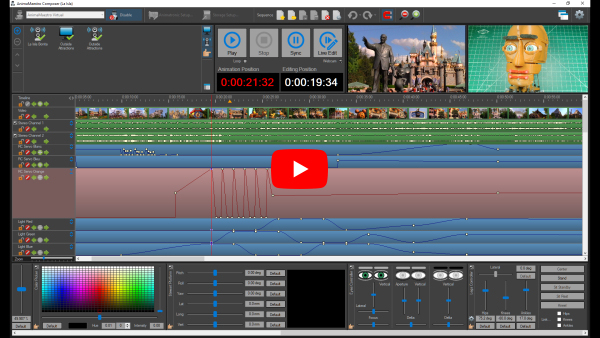
Overview (online on YouTube)
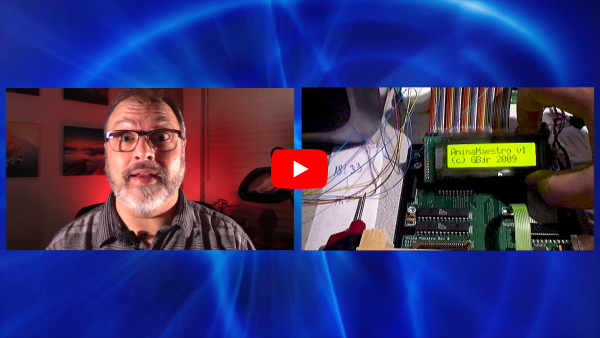
Brief history of Disney's audio-animatronics and presentation of my AnimaMaestro project.
In this first video, I talk about how audio-animatronics were invented by Walt Disney in 1963. I show a lot of audio-animatronics that can be seen in both Walt Disney World and Disneyland. I also talk about how my AnimaMaestro project came to be about 10 years ago, and show my first prototypes. Finally, I give an overview of the video series that will appear on the YouTube channel.
AnimaMaestro Figure (online on YouTube)
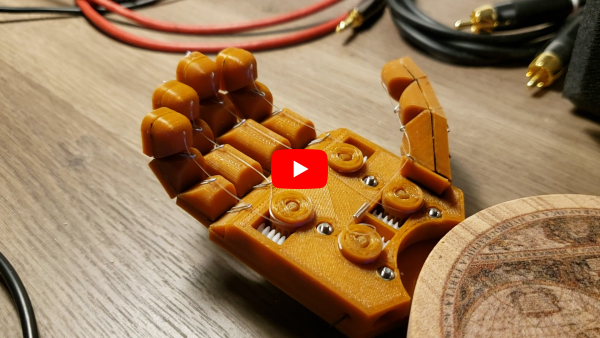
3D modeling, 3D printing, and hardware assembly of the animatronic.
This video series will focus on the design and assembly of the animatronic itself. We will see my 3D modeling process, 3D printing of the parts, selection of the mechanical components including DC motors, servo motors, ball bearings, metal rods, plastic chains, and more. This is the series in which you will see actual testing of the animatronic.
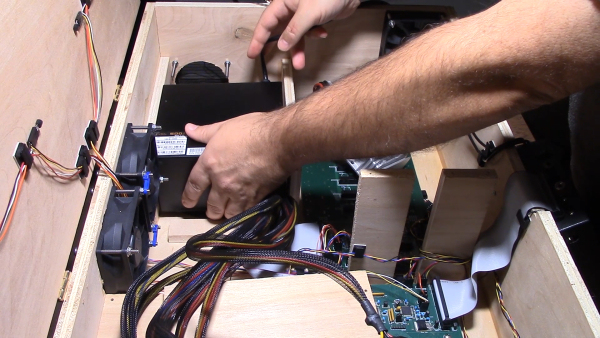
AnimaMaestro Stage Box (Video coming soon)
Design and assembly of the wooden box supporting the animatronic and containing the electronics and power supplies.
The box also includes temperature sensors, 4 fans to cool down the interior of the box if needed, an emergency stop button as well as a master volume control knob.
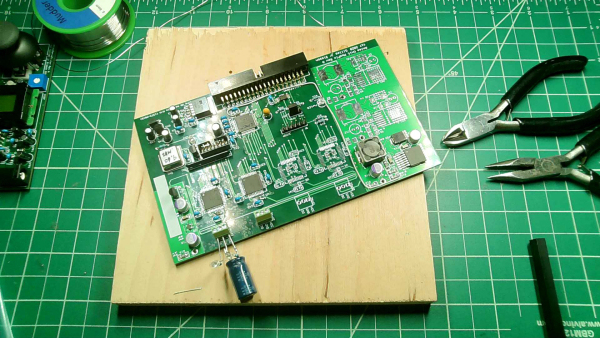
AnimaMaestro Units (Video premiering Wednesday, May 12th, 2021)
Units integrate power supply management, motor drivers, NeoPixel drivers, amplifiers, EEPROM and microcontrollers.
The project currently includes 3 types of Units. The Pulse Width Modulation Units can each generate up to 16 PWM signals, and are used to drive DC motors, servo motors as well as RGB L.E.Ds. The AnimaMaestro NeoPixel Units can each control 4 NeoPixel strips for a total of nearly 250 NeoPixels at full brightness. Finally, the Amplifier units each include 4 stereo 3W amplifiers to provide sound and music to the AnimaMaestro figure.
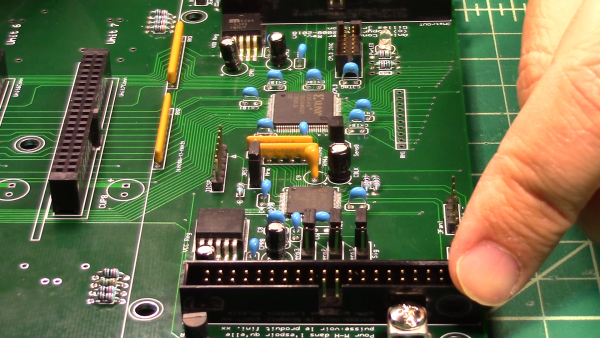
AnimaMaestro Controllers (Video premiering Wednesday, May 19th, 2021)
Controllers provide power as well as communication coordination for up to a total of 16 units.
The project includes a Primary and a Secondary Controller. Each Controller is powered by a standard ATX PC Power Supply. Communication with the units is provided through a Complex Programmable Logic Device or CPLD. Each Controller also includes a microcontroller that handles temperature monitoring and fan management.
AnimaMaestro Conductor (online on YouTube)
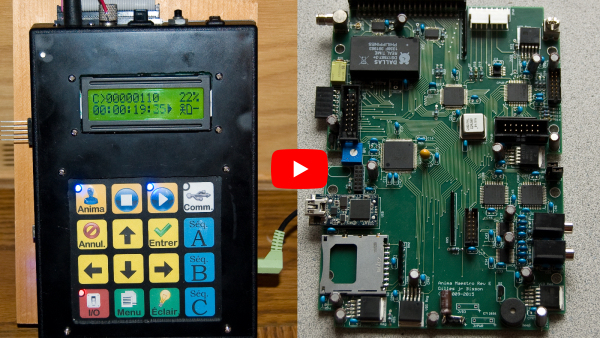
The Conductor connects to up to 16 units via up to 2 controllers. It can playback 4 audio channels autonomously or via USB.
The Conductor includes an LCD display module, a matrix keyboard, a beeper, and some L.E.Ds. It has an SD card capable of storing audio and animation data. It includes two high quality stereo DACs. It also features a Real Time Clock to allow scheduled animation playback. Finally, the Conductor also includes an RF module so it can be operated via a remote control.
AnimaMaestro Composer (online on YouTube)
This animation application has a plugin based architecture able to provide keyframe animation to various hardware.
The application connects to the AnimaMaestro Conductor via USB. This allows the user to configure the AnimaMaestro Units, playback audio and animation data in real time, as well as store animation sequences into the Conductor’s SD card. The application offers various controls to individually animate each of the figure’s actuators with keyframes and interpolation. The Composer application can also play video to help when creating animations.
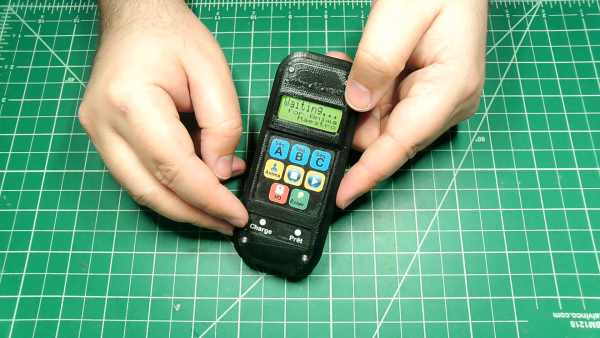
AnimaMaestro Remote (Video coming soon)
RF remote control to operate and receive info from the AnimaMaestro Conductor.
This short series will look at the 3D modeling and 3D printing, design and assembly of the electronic board which includes a LIPO battery charger, as well as the firmware programming of the remote.
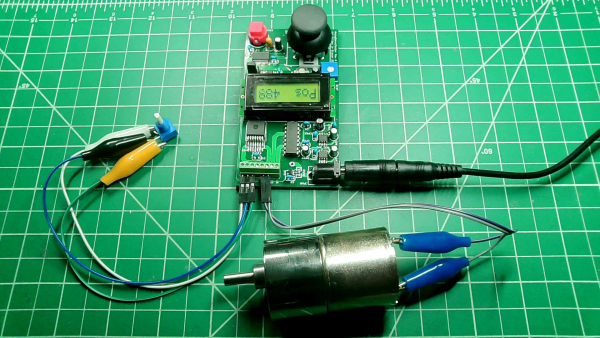
Tools and Workshops (Video coming soon)
Servo Motor Tester, Tutorials, Discussions, and more.
The first videos in this series will talk about a tool I made to test the custom servo motors that I use on my animatronic.
But the ultimate goal of this series is to include some short videos to explain various concepts and discuss various topics. Some examples include : how do servo motors work, what is a PID controller, what is a Stewart Platform, what is a CPLD, or maybe some basic electronic concepts, some software design guidelines, etc.
